
Create a customer
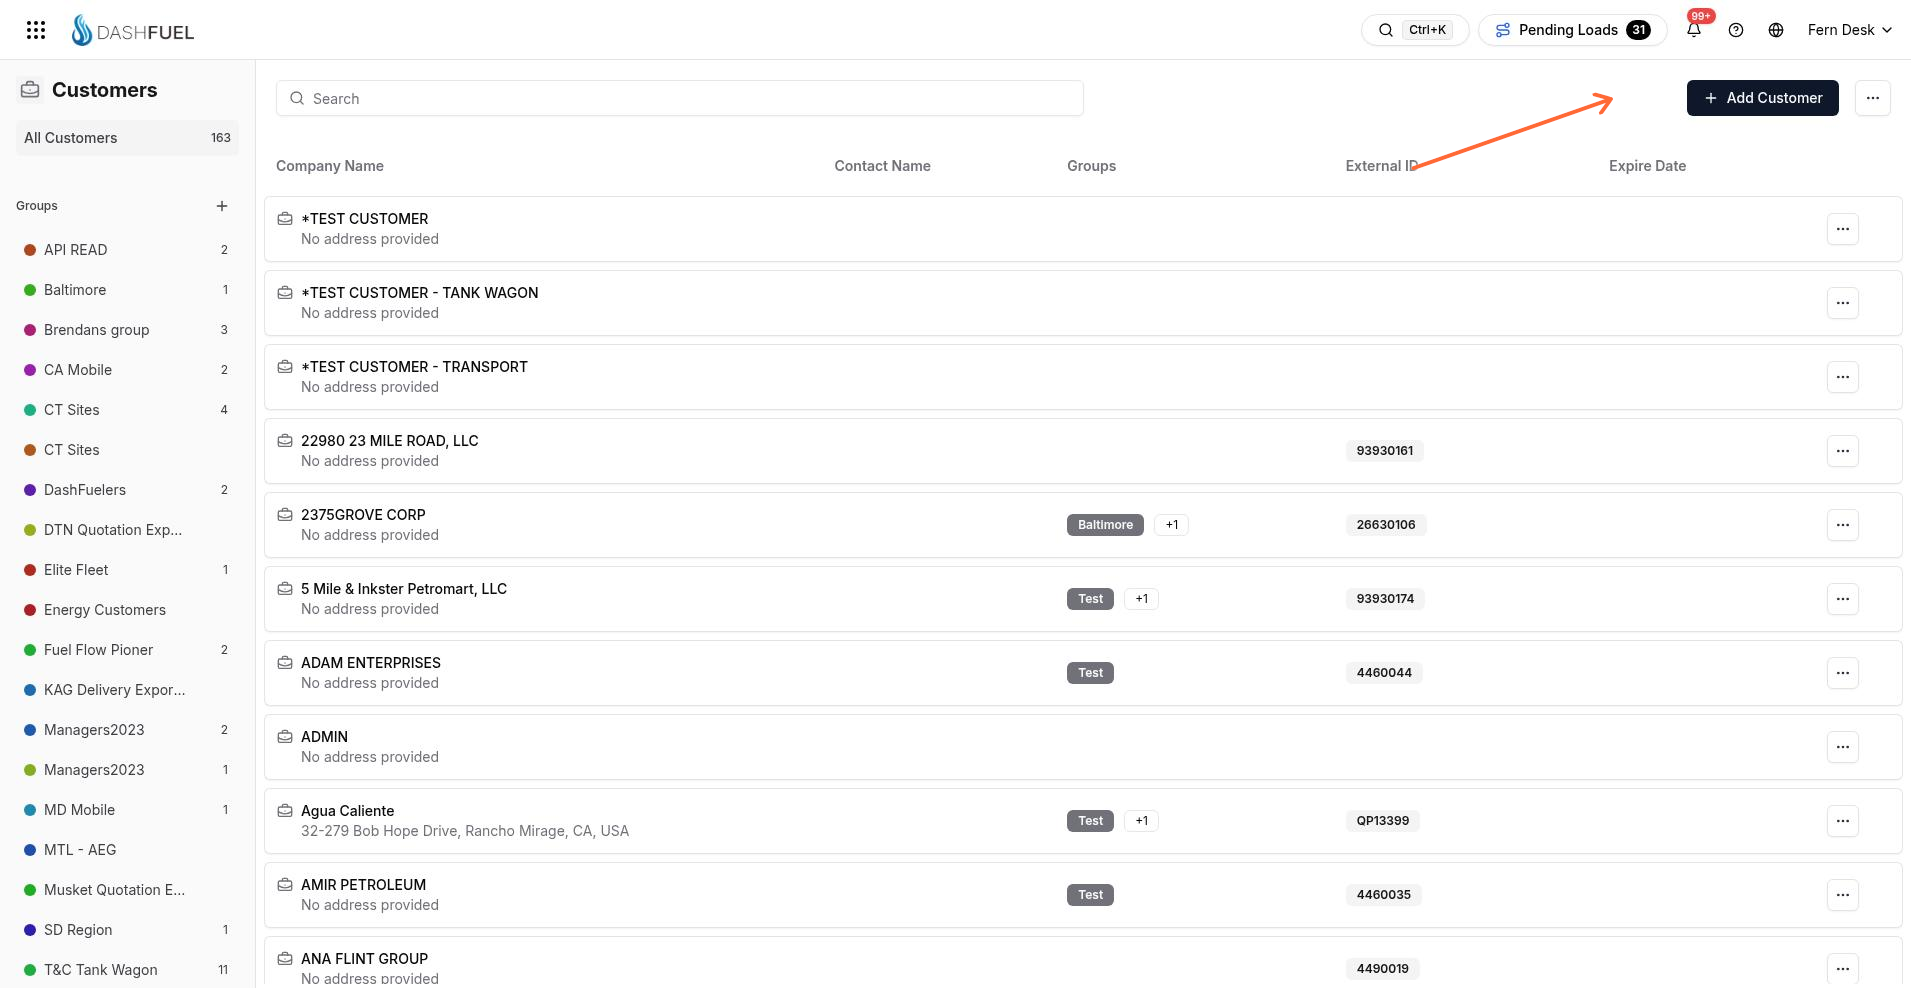
Open the Customers list, choose Add Customer, complete the New Customer form, then submit with Create Customer.
Open Add Customer
Start from the Customers list header.
Open Customers.
Click Add Customer. The New Customer page opens.
Fill customer identity
Enter the customer’s name and address on New Customer.
Enter Customer Name.
Enter Address.
Enter External ID if you track one outside DashFuel.
Choose Timezone.
Set billing and payment
Configure how this customer is billed and grouped.
Choose Payment Terms and Payment Method.
Set Assigned Salespeople, Groups, and Freight Group as needed.
Enter a Default PO Number when the customer usually reuses one.
Turn on billing and paperwork flags that match how this customer should operate (for example net gallons billing, freight-only, PO requirements, or delayed paperwork email).
Add contact person
Fill the Contact Person section when you have a primary contact for the customer.
Enter First Name and Last Name.
Enter Phone.
Enter Emails for addresses that should receive invoices and quotes.
Enter Paperwork Email(s) for addresses that should receive delivery paperwork.
Emails and Paperwork Email(s) are separate lists. Put invoice and quote recipients on Emails. Put paperwork recipients on Paperwork Email(s). The same address can appear on both lists if that person should get both kinds of mail.
Create the customer
Submit from the New Customer page when the form is ready.
Review the fields you filled.
Click Create Customer.
Use Cancel to leave without creating the customer.
What’s next
After the customer exists, add a delivery location. See Create a customer location and the Locations overview.