
Create and assign a tank monitor
From the tank form Monitor details card, create a new tank monitor or assign an existing one to the customer tank. Open the tank from Create a customer tank.
Create monitor is always available. When a monitor is already selected, Edit selected monitor is also available. You can also pick an existing monitor from the IP control without opening the create dialog.
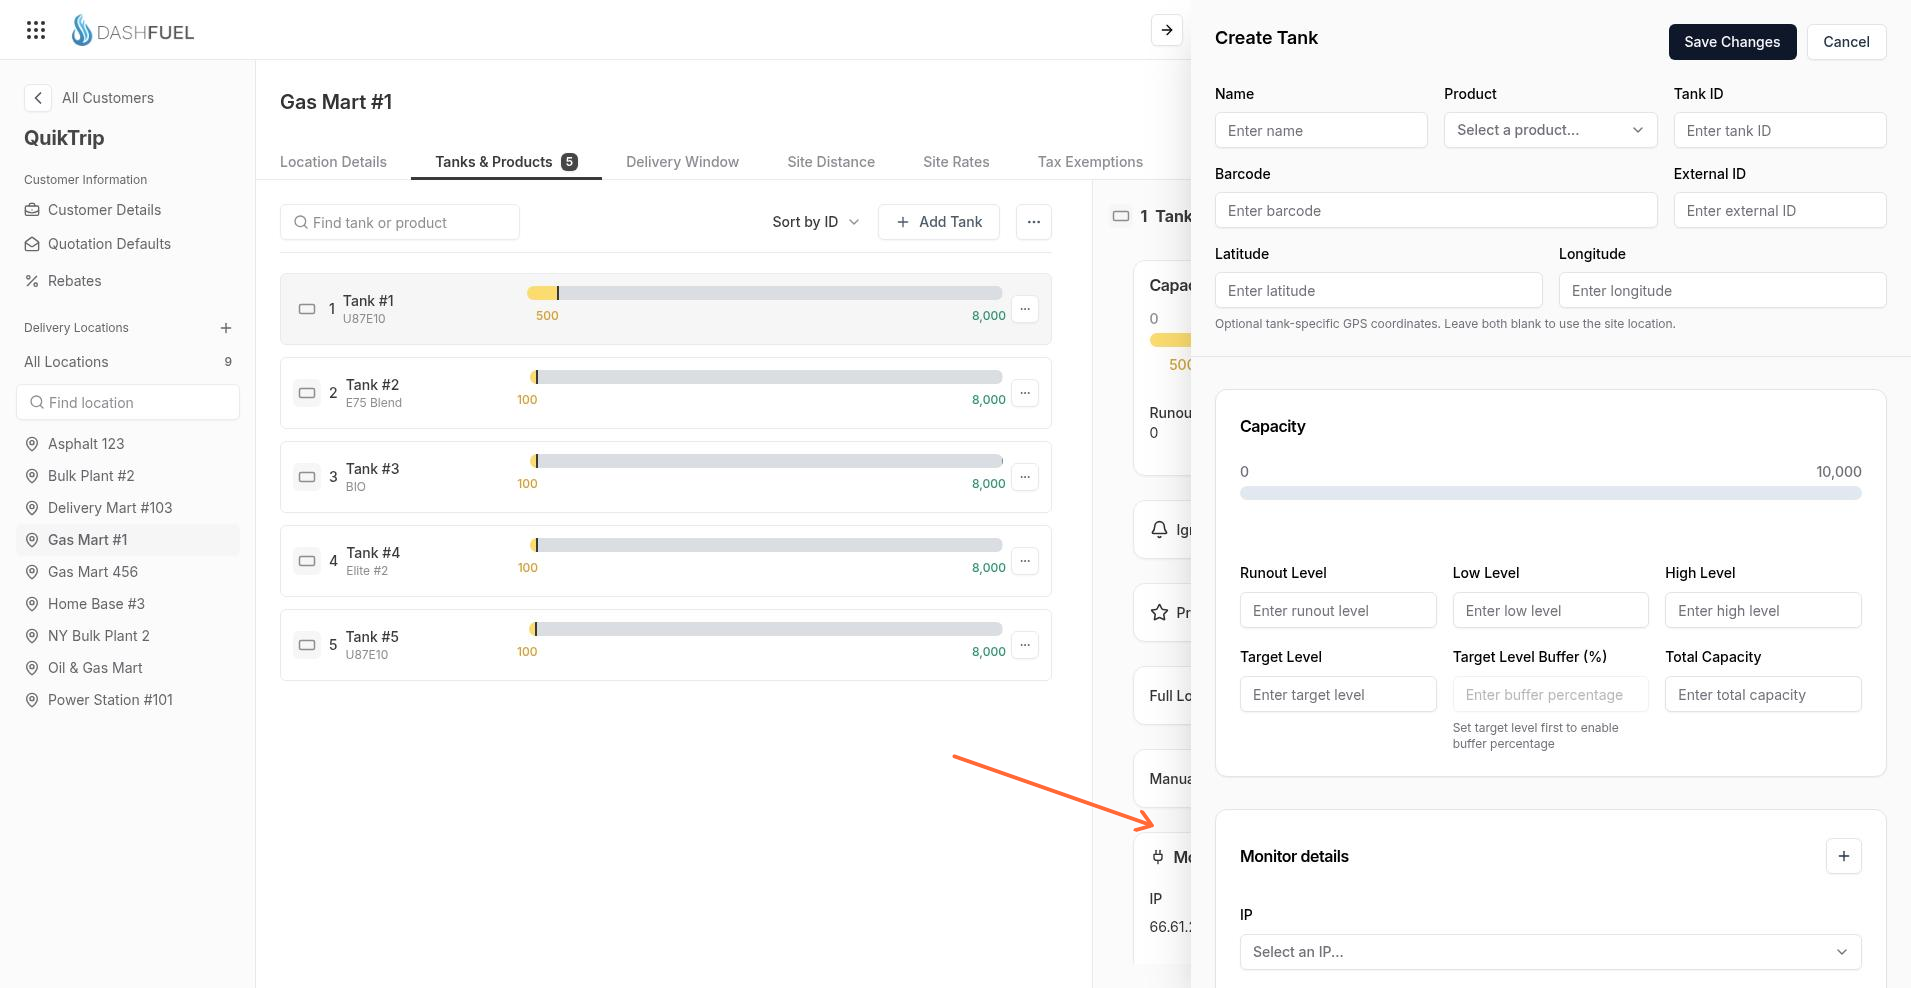
Create a new monitor
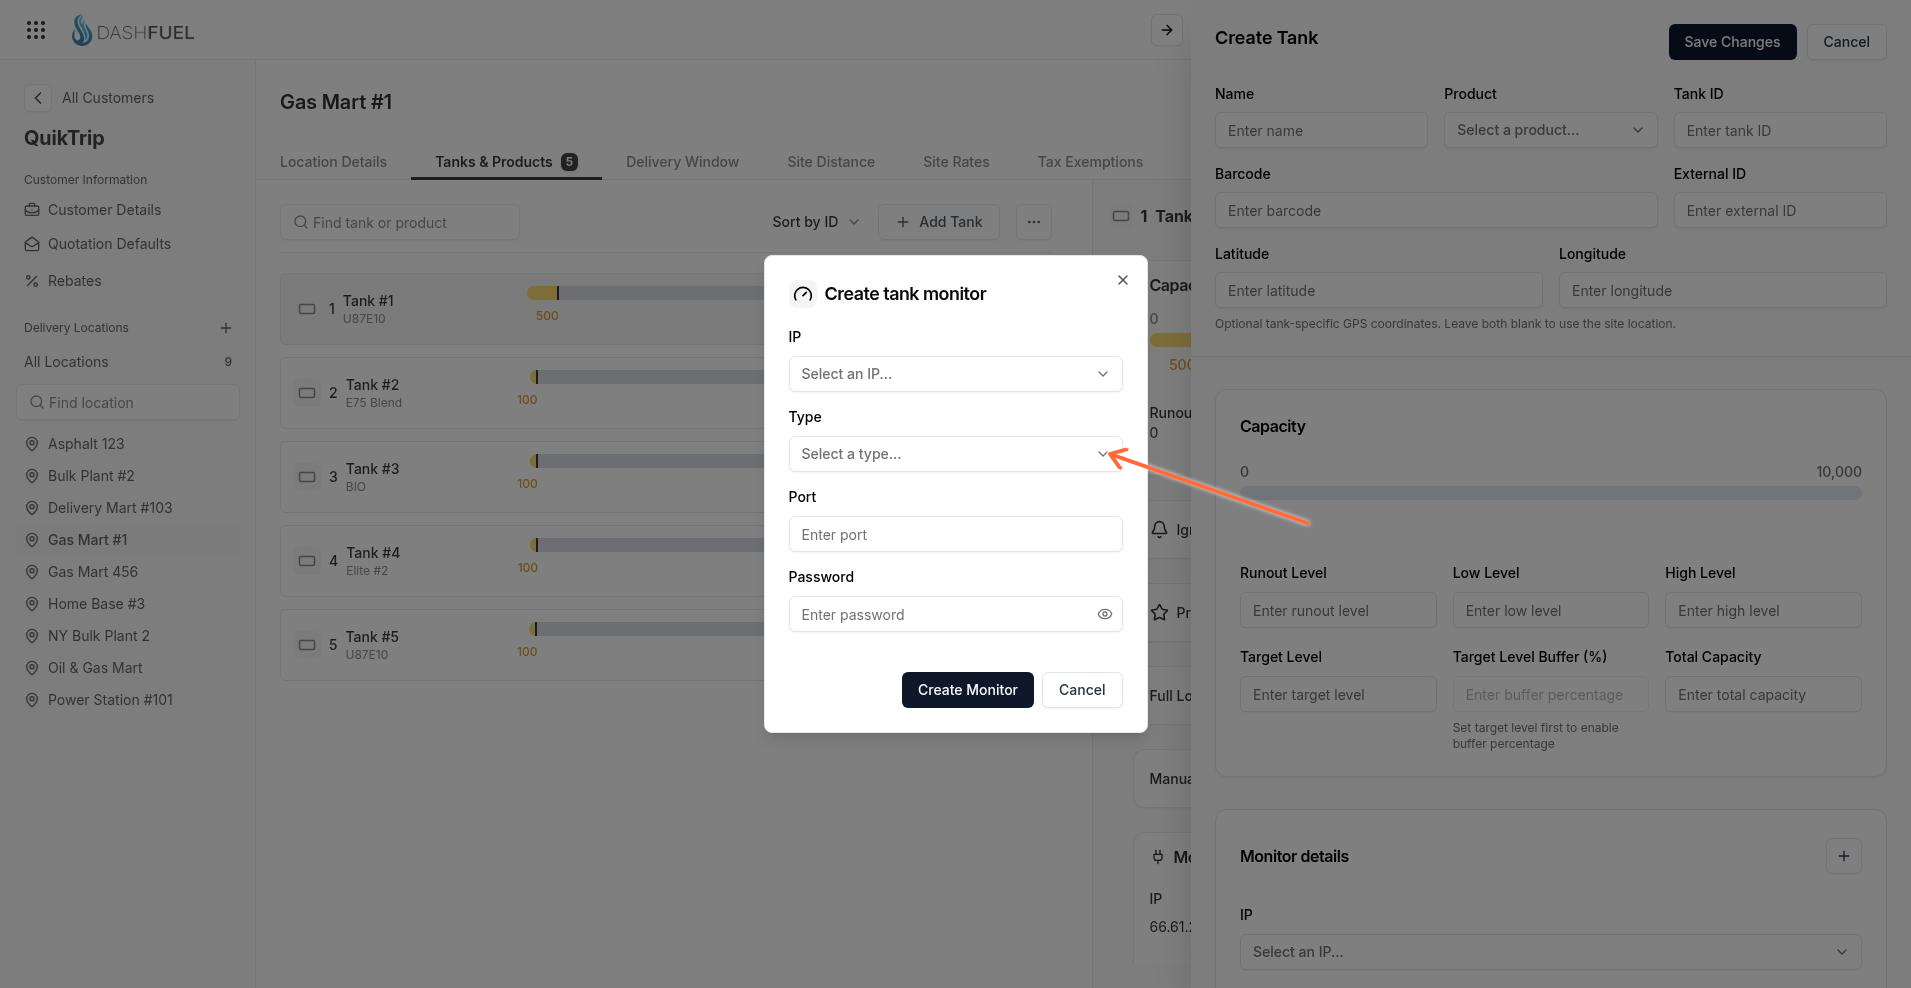
Open Create tank monitor from Monitor details, fill the connection fields, then submit with Create Monitor.
On the tank form, open the Monitor details card.
Select Create monitor.
In the Create tank monitor dialog, enter or choose an IP. To add a new value, use New IP.
Choose a Type.
Enter Port and Password.
If Type is TLS450 Web Integration, complete Credential scope. That field appears only for this type.
Select Create Monitor.
DashFuel assigns the new monitor back to the tank form.
Assign an existing monitor
In Monitor details, choose an existing monitor from the IP control to assign it to the tank.
On the tank form, open the Monitor details card.
Open the IP control and select the monitor you want to assign. The field is clearable.
After you select an IP, the tank form shows that monitor’s type, port, password, and credential scope when it applies. Selecting an IP assigns that monitor without opening the create dialog.
Edit a selected monitor
When a monitor is already selected on the tank, open Edit tank monitor to change its details.
On the tank form, open the Monitor details card with a monitor already selected.
Select Edit selected monitor.
In the Edit tank monitor dialog, update IP, Type, Port, Password, and—when the type is TLS450 Web Integration—Credential scope.
Select Save Changes.